
Ready to Get Your Lab Organized?
From Chaos to Organized: Setting Up Your Lab’s Digital System
You're convinced. Digital lab notebooks make sense. You've tried it yourself. It works.
Now comes the harder question: How do you get your entire lab to use it?
Not just "everyone has accounts" but actually using it. Consistently. Without you nagging people. Without half the lab reverting to paper notebooks within a month.
This isn't a technology problem. It's a change management problem. And it's solvable.
I've seen labs successfully transition from complete paper chaos to organized digital systems. I've also seen labs fail—buy expensive software, set it up, and watch it gather dust because nobody uses it.
The difference isn't the software. It's how you approach the transition.
Let's talk about what actually works.
Why Most Lab Rollouts Fail
Before we talk about what to do, let's understand why most attempts fail:
Failure Pattern 1: The Big Bang Approach
What happens: Lab manager decides "We're going digital!" Announces it in lab meeting. Sets a hard deadline. "Everyone must use the new system starting Monday."
Result: Confusion. Resistance. People don't know how to use it. They're stressed about the change. They keep using their old system in secret. Three months later, half the lab is back on paper.
Why it fails: No training. No transition period. No buy-in. Just a mandate.
Failure Pattern 2: The Perfect System Trap
What happens: Spend 3 months designing the perfect organizational structure. Create 50 templates. Write a 40-page SOP. Finally announce it's ready. Nobody uses it because it's too complicated.
Result: The system is too rigid. Doesn't match how people actually work. Too much overhead. People ignore it.
Why it fails: Perfect is the enemy of done. Complexity kills adoption.
Failure Pattern 3: The Technology First Approach
What happens: Buy expensive ELN software. Set up accounts. Assume people will figure it out. Provide no training. No support. No structure.
Result: People log in once, get overwhelmed, never come back. System sits unused.
Why it fails: No process. No guidance. Technology alone doesn't change behavior.
The Approach That Actually Works
Here's the strategy that leads to successful, sustained adoption:
Phase 1: Pilot with Champions (2-4 Weeks)
What to do:
- You start using ELabELN yourself (you're already doing this)
- Invite 1-2 enthusiastic lab members to try it with you
- Document real experiments for 2-4 weeks
- Figure out what works for your lab's specific workflows
- Create 2-3 basic templates based on your most common experiments
- Develop a simple organizational structure that matches how your lab thinks
Goal: Prove it works in real conditions. Build internal expertise. Get early wins.
Why this works: When you roll out to the wider team, you have real examples. You can say "Here's how we're using it" not "Here's how I think we should use it."
Phase 2: Structure Setup (1 Week)
What to do:
- Create 5-10 categories that match your lab's work (more on this below)
- Build 3-5 templates for your most common experiment types
- Establish basic naming conventions (simple ones)
- Set up team structure in ELabELN
- Create shared resources (protocols, SOPs) if applicable
Goal: Minimal structure that helps without constraining. Enough to prevent chaos, not so much it feels bureaucratic.
Why this works: People need some structure to get started. But keep it minimal—you can always add more later.
Phase 3: Team Rollout (2-4 Weeks)
What to do:
- Announce in lab meeting: "We're transitioning to digital lab notebooks"
- Explain why (time savings, better collaboration, easier to find things)
- Show real examples from your pilot (this is key)
- Schedule 30-minute training sessions in small groups (3-4 people max)
- Set soft deadlines: "New experiments go digital starting next month"
- Don't force retroactive documentation—start fresh
Goal: Get everyone started without overwhelming them. Make it feel achievable.
Why this works: Small group training. Real examples. Soft deadlines. No pressure to migrate old work.
Phase 4: Sustained Support (Ongoing)
What to do:
- Weekly "office hours" for questions (first month)
- Create a shared document with FAQs
- Celebrate early adopters (show off well-documented experiments in lab meetings)
- Gently remind stragglers without being preachy
- Iterate on templates and structure based on feedback
Goal: Make it easy to get help. Build positive momentum. Improve based on real usage.
Why this works: Change takes time. Ongoing support prevents people from giving up when they hit obstacles.
Setting Up Your Organizational Structure
Let's get specific. Here's how to set up categories, templates, and naming conventions that people will actually use.
Categories: Keep It Simple
Start with 5-10 broad categories that match how your lab naturally divides work.
Example for Molecular Biology Lab:
- Molecular Cloning
- Protein Work
- Cell Culture
- Assays & Screening
- Microscopy & Imaging
- Troubleshooting
- Protocols & Methods
Example for Chemistry Lab:
- Synthesis
- Characterization & Analysis
- Purification
- Method Development
- Scale-Up
- Literature & Background
Example for Food Science Lab:
- Product Formulation
- Sensory Testing
- Stability & Shelf-Life
- Microbial Analysis
- Physical Testing
- Process Development
Key principles:
- Categories should be obvious (people shouldn't have to think hard about where something goes)
- Err on the side of fewer categories (you can always split them later)
- Use terminology your lab already uses
- Have a "Miscellaneous" or "General" category for things that don't fit
Templates: Start Minimal, Expand Later
Don't try to create templates for every possible experiment. Start with your top 3-5 most common experiment types.
For each template, include:
- Section headers (Objective, Materials, Protocol, Results, Discussion)
- Standard materials/reagents you always use
- Common protocol steps
- Placeholder text in [brackets] for things that change
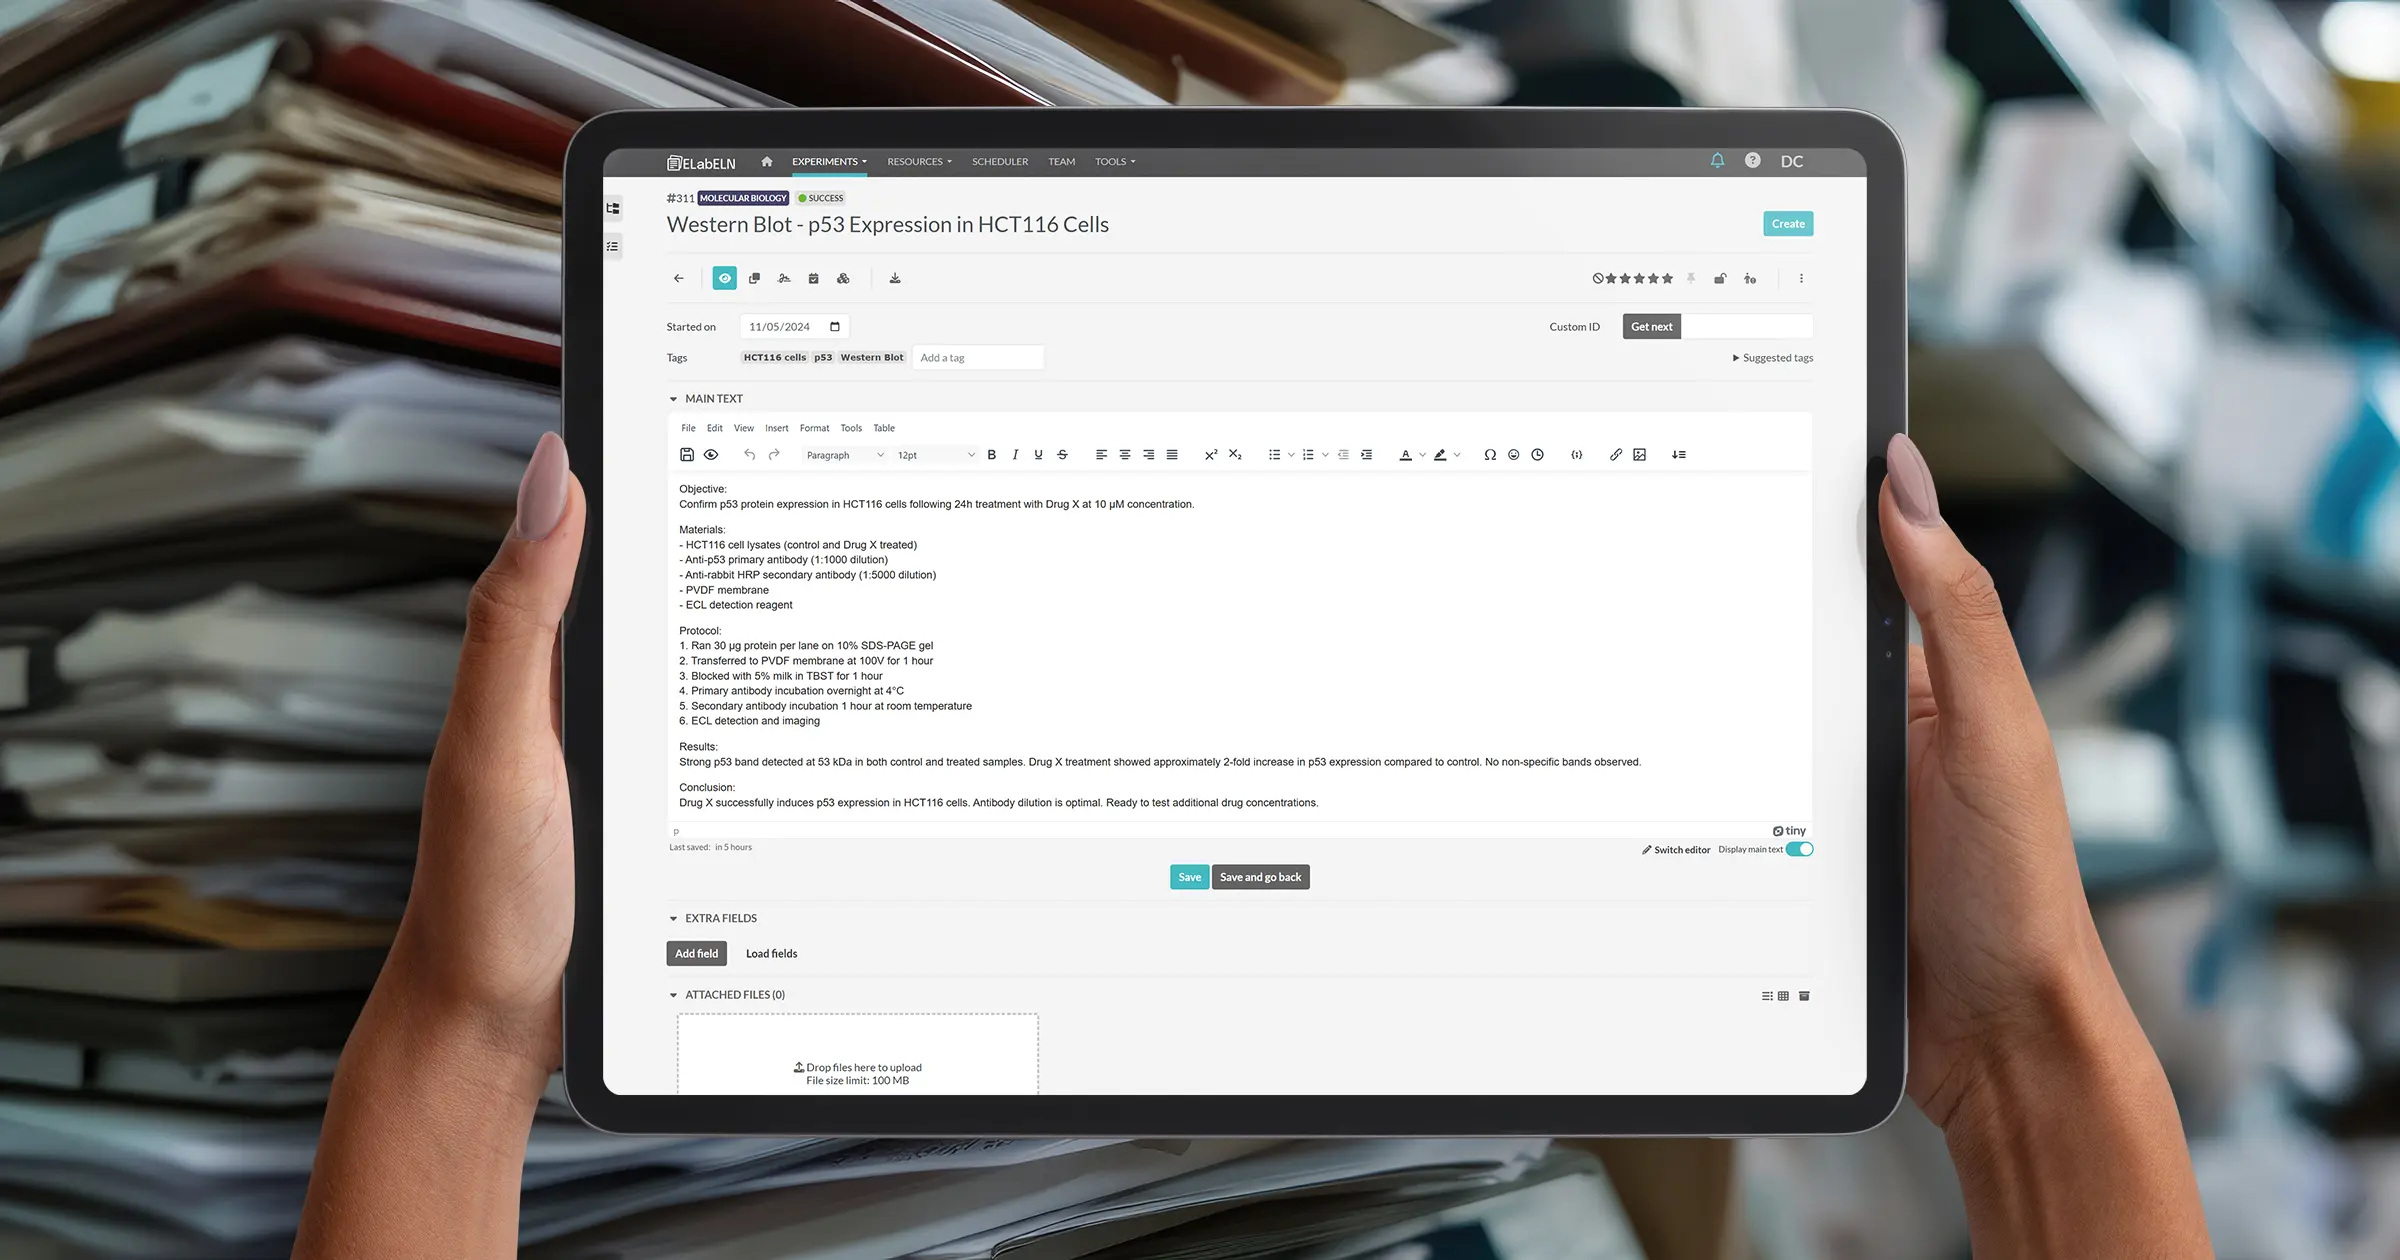
Example: PCR Template
Objective:
[Describe what you're amplifying and why]
Materials:
- Template DNA: [source and concentration]
- Forward primer: [name and sequence]
- Reverse primer: [name and sequence]
- Polymerase: Taq polymerase (standard)
- dNTPs: 10mM stock
- Buffer: 10X PCR buffer
Protocol:
- Prepare reaction mix (total 25 μL): [list components and volumes]
- PCR conditions: [list thermal cycling parameters]
- Run [X] μL on [X]% agarose gel
Results:
[Describe band sizes, intensities, any issues]
Why this works: 80% of the work is pre-filled. Users just modify the [bracketed] parts and add their specific observations.
Naming Conventions: Simple and Flexible
Don't overthink naming. Simple conventions work best:
For experiment titles:
- Use descriptive titles: "PCR Amplification of Gene X from Sample A5"
- Not: "Experiment 1" or "Tuesday work"
- Include what, not when (dates are automatic)
For tags:
- Use consistent terminology (always "Western blot" not sometimes "WB")
- Include technique, target, sample ID, project name
- 3-6 tags per experiment
For file attachments:
- Descriptive names: "gel_image_sample_A5.jpg"
- Not: "IMG_3847.jpg"
- The file will be attached to the experiment, so context helps
Important: Document these conventions in a shared "Getting Started" guide but don't be rigid. If someone uses a slightly different naming, that's fine. Consistency matters more than perfection.
Training Your Team: The 30-Minute Session
Here's the training session that actually works. Not a 3-hour workshop. A focused 30-minute session in small groups.
The 30-Minute Training Outline:
Minutes 0-5: Why We're Doing This
- Show the problem: "We spend 5-10 hours per week searching for old experiments"
- Show the solution: Live demo of instant search
- Show real example from pilot: "Here's an experiment [your name] documented last week"
Minutes 5-15: Create Your First Experiment Together
- Everyone logs into their account
- Walk through creating one experiment step-by-step
- Use a template to make it fast
- Everyone does it simultaneously (follow-along style)
- Answer questions as they come up
Minutes 15-25: Key Features
- Show search (type something, find it instantly)
- Show categories and tags (how to organize)
- Show sharing (how to give PI access)
- Show image upload (drag and drop)
Minutes 25-30: Next Steps and Support
- Expectation: "Document your next experiment digitally"
- Where to get help: Office hours, Slack channel, email, whatever
- Reminder: Paper notebooks are fine for old work, but new work goes digital
- Questions
Why this works:
- Short enough people don't dread it
- Hands-on (everyone creates something)
- Focuses on immediate value (search, templates, sharing)
- Sets clear expectations without being heavy-handed
Alternative: One-on-One Training
If your lab is small (3-5 people) or people have very different schedules, do 15-minute one-on-one sessions:
- Sit with person at their computer
- Have them document one real experiment while you guide
- Answer their specific questions
- Show them the 3-4 features they'll use most
- Done
More time-intensive for you, but higher adoption rate.
Handling Resistance
Some people will resist. Here's how to handle common objections:
"I like my paper notebook. It works for me."
Don't say: "Paper notebooks are outdated. You need to change."
Do say: "That's totally fine. Keep using your notebook if you prefer. But for lab-wide sharing and when your PI needs to review something, can you document those specific experiments digitally? That way we avoid the email back-and-forth."
Why this works: You're not forcing a complete change. You're asking for minimal digital documentation for collaboration purposes. Most people will realize documenting digitally is easier than documenting twice.
"This seems complicated. I don't have time to learn new software."
Don't say: "It's easy, just figure it out."
Do say: "I totally understand. Let me sit with you for 10 minutes and we'll document one experiment together. After that, you'll know everything you need."
Why this works: You're removing the barrier (fear of the unknown) with hands-on support.
"I tried it but I couldn't figure out how to [specific task]."
Don't say: "Did you read the manual?"
Do say: "Let me show you how to do that—it takes about 30 seconds once you know where to click."
Why this works: Immediate problem-solving builds confidence.
"What about all my old experiments? Do I have to re-enter everything?"
Don't say: "Yes, if you want a complete record."
Do say: "Absolutely not. Your old notebooks stay as they are. We're only documenting new experiments digitally going forward. If you need to reference something old, your notebooks are still there."
Why this works: Removes the overwhelming task of migration. Makes it achievable.
Building Sustainable Habits
Getting people to start is one thing. Getting them to continue is another. Here's how to build lasting habits:
1. Make It Part of Lab Culture
In lab meetings:
- When someone presents results, have them screen-share from ELabELN
- Celebrate well-documented experiments: "Great documentation, [name]"
- Reference past experiments by searching live: "Remember when we tested that? Let me find it... [types, finds it in 3 seconds]"
In daily work:
- When someone asks for a protocol, share the ELabELN link instead of emailing
- When reviewing someone's work, review it directly in ELabELN
- When onboarding new lab members, start them with ELabELN on day one
2. Gentle Accountability
Don't: Publicly shame people who aren't using it
Do:
- Monthly check-ins: "How's digital documentation going? Any issues?"
- When someone asks you to review results via email, respond: "Can you share it in ELabELN so I can see the full experiment?"
- Recognize consistent users: "Thanks for keeping great documentation, makes collaboration so much easier"
3. Continuous Improvement
After 3 months:
- Survey your team: What's working? What's not?
- Review templates: Which ones are used? Which are ignored?
- Adjust categories if they're not making sense
- Add new templates for experiment types people do frequently
- Remove friction wherever you find it
4. Lead by Example
If you're the PI or lab manager:
- Document your own experiments (if you do bench work)
- Ask for shared access when reviewing instead of asking for email
- Reference past experiments via search in meetings
- Show enthusiasm when the system helps you find something quickly
People follow what leaders do, not what they say.
Common Implementation Mistakes
Mistake 1: Over-Engineering the System
What it looks like: 30 categories, 50 templates, complex naming conventions with version numbers and prefixes
Fix: Start with 5-10 categories, 3-5 templates, simple naming. Add complexity only if needed.
Mistake 2: No Training Budget
What it looks like: "Here's the login info, figure it out"
Fix: Allocate time for training sessions. Even 30 minutes per person makes a huge difference.
Mistake 3: Forcing Retroactive Documentation
What it looks like: "Everyone needs to digitize their last 6 months of work"
Fix: Only new experiments go digital. Old notebooks stay as they are. Don't create unnecessary work.
Mistake 4: Inconsistent Enforcement
What it looks like: PI asks for digital documentation but accepts email attachments when people send them
Fix: If you set an expectation, stick to it. Politely redirect: "Can you share that in ELabELN instead?"
Mistake 5: No Support After Launch
What it looks like: Training session, then nothing. People hit problems and give up.
Fix: Weekly office hours for first month. Ongoing support channel (Slack, email, whatever). Make help accessible.
Timeline for Successful Rollout
Here's a realistic timeline for going from "just you" to "whole lab using it consistently":
Weeks 1-4: Pilot Phase
- You + 1-2 enthusiastic adopters
- Document real work
- Build templates and structure
- Prove it works
Week 5: Setup & Planning
- Finalize categories and templates
- Set up team in ELabELN
- Schedule training sessions
- Create simple "Getting Started" guide
Weeks 6-7: Training & Initial Rollout
- Run training sessions
- Everyone creates their first experiment
- Announce soft deadline: "New experiments digital starting Week 8"
Weeks 8-12: Active Support Period
- Weekly office hours
- Answer questions as they come up
- Gently remind stragglers
- Celebrate successes
Month 4+: Sustained Usage
- Most people documenting digitally by default
- Occasional questions but mostly self-sufficient
- Continuous improvement based on feedback
- New lab members onboarded to digital-first
Total time to full adoption: 3-4 months
That might seem long, but remember: you're changing behavior, not just installing software. Sustainable change takes time.
Measuring Success
How do you know if your rollout is working? Track these metrics:
Quantitative:
- Percentage of team with accounts created
- Percentage of team actively documenting (created experiment in last 2 weeks)
- Number of experiments created per week (should increase over time)
- Reduction in email attachments (compare before/after)
Qualitative:
- "How's the transition going?" conversations
- Number of support questions (should decrease after Month 2)
- Unsolicited positive feedback ("This is so much easier than...")
- People sharing experiments instead of emailing without being reminded
The Real Test:
Success is when:
- New lab members are trained on ELabELN on day one as standard practice
- People search for old experiments instead of asking "does anyone remember..."
- Lab meetings involve screen-sharing from ELabELN naturally
- You stop having to remind people to use it
When it becomes "just how we do things," you've succeeded.
Real Lab Success Stories
Small Academic Lab (PI + 4 PhD Students)
Approach: PI started using ELabELN first. After 2 weeks, showed it in lab meeting. Offered to train anyone interested. 3 students volunteered. Ran through one experiment together. Within 6 weeks, all 4 students documenting digitally.
Key to success: PI led by example. Made it voluntary initially. Provided hands-on training.
Food Science R&D Team (12 Researchers)
Approach: Project lead piloted with 2 team members for a month. Created 5 templates for common formulations. Ran 30-minute training in groups of 3-4. Set soft deadline: "New formulations digital starting next month." Held weekly office hours for questions.
Key to success: Templates saved massive time. Small group training. Ongoing support.
Chemistry Lab (PI + 8 Grad Students + 3 Postdocs)
Approach: Postdoc championed the transition. Created synthesis template. Trained grad students one-on-one (15 min each). PI agreed to only review work shared via ELabELN (not email). Within 2 months, 90% compliance.
Key to success: PI enforcement. One-on-one training. Champion who provided peer support.
What Happens After Setup
Once your lab is documenting digitally, you'll notice:
- Lab meetings are faster: Less time explaining what you did, more time discussing results
- Onboarding new members is easier: They can search past experiments to understand lab history
- Collaboration improves: People can see each other's work without asking
- Writing papers is easier: All your data is organized and searchable
- Knowledge is preserved: When someone graduates, their experiments remain accessible
The system becomes infrastructure. Like email or Slack—just part of how the lab operates.
Final Thoughts: Start Small, Think Big
You don't need to transition your entire lab overnight. You don't need perfect templates or a flawless organizational system.
You need:
- A few early adopters
- Basic structure (categories, a few templates)
- Simple training
- Patience
Start with yourself. Add a few lab mates. Prove it works. Expand gradually.
In 6 months, you'll look back and wonder how you ever managed with paper notebooks and email chaos.
Next week: The final article in this series. We're covering compliance and data integrity—how to make your digital documentation audit-ready, compliant with regulations, and scientifically rigorous.
Get the Final Article
This is Part 6 of our 7-part series on making lab documentation easier. One more article to go!
Sign up for our newsletter to get the final article as soon as it drops, plus ongoing tips for better lab documentation.
Next week: "Compliance & Data Integrity: Making Your Research Audit-Ready"
Ready to Get Your Lab Organized?
ELabELN provides the structure your lab needs with advanced team management, custom templates, role-based permissions, and dedicated support for lab-wide deployments. Get started today to schedule a demo and see how simple it is to roll out digital documentation across your entire team.
"*" indicates required fields
© LabLynx, Inc. All Rights Reserved. LabLynx®, ELabELN™, and related marks are trademarks of LabLynx, Inc. This document may reference or interoperate with third-party technologies including Nextcloud®, ELabFTW®, and Node-RED®, whose respective copyrights, trademarks, and licenses remain the property of their owners. Nextcloud source code and license: https://github.com/nextcloud/server; ELabFTW source code and license: https://github.com/elabftw/elabftw; Node-RED source code and license: https://github.com/node-red/node-red. All third-party software is subject to its own licensing terms. Information provided herein is for informational purposes only and is not legal, technical, or professional advice. Product features and specifications are subject to change without notice.